

This page describes how to administer a W&B organization, including how to invite users, manage teams, assign roles and seats, and configure billing. Use these procedures to keep your organization’s membership, access, and team structure aligned with how your company uses W&B. As an admin of an organization, you can manage individual users within your organization and manage teams. As a team admin, you can manage teams.Documentation Index
Fetch the complete documentation index at: https://wb-21fd5541-docs-2661.mintlify.app/llms.txt
Use this file to discover all available pages before exploring further.
The following workflow applies to users with instance admin roles. Contact an admin in your organization if you believe you should have instance admin permissions.
Change the name of your organization
The following workflow only applies to W&B Multi-tenant Cloud.
- Navigate to https://wandb.ai/home.
- In the upper right corner of the page, select the User menu dropdown. Within the Account section of the dropdown, select Settings.
- Within the Settings tab, select General.
- Select the Change name button.
- Within the modal that appears, provide a new name for your organization and select the Save name button.
Add and manage users
As an admin, use your organization’s dashboard to:- Invite or remove users.
- Assign or update a user’s organization role, and create custom roles.
- Assign the billing admin.
- Member-by-invite
- Auto provisioning with SSO
- Domain capture
Seats and pricing
The following table summarizes how seats work for Models and Weave:| Product | Seats | Cost based on |
|---|---|---|
| Models | Pay per set | How many Models paid seats you have and how much usage you’ve accrued determines your overall subscription cost. You can assign each user one of three available seat types: Full, Viewer, or No-Access. |
| Weave | Free | Usage based |
Invite a user
Admins can invite users to their organization, as well as to specific teams within the organization.- Multi-tenant Cloud
- Dedicated Cloud or Self-Managed
- Navigate to https://wandb.ai/home.
- In the upper right corner of the page, select the User menu dropdown. Within the Account section of the dropdown, select Users.
- Select Invite new user.
- In the modal that appears, provide the email or username of the user in the Email or username field.
- Optional: Add the user to a team from the Choose teams dropdown menu.
- From the Select role dropdown, select the role to assign to the user. You can change the user’s role later. See the table listed in Assign a role for more information about possible roles.
- Click the Send invite button.
Auto provision users
Auto-provisioning streamlines onboarding by letting users join your organization automatically through SSO, so admins don’t need to send individual invitations. If you configure SSO and your SSO provider permits it, a W&B user with a matching email domain can log in to your W&B organization with Single Sign-On (SSO). SSO is available for all Enterprise licenses.Enable SSO for authenticationW&B recommends that users authenticate using Single Sign-On (SSO). Contact your W&B team to enable SSO for your organization.For more information about how to set up SSO with Dedicated Cloud or Self-Managed instances, see SSO with OIDC or SSO with LDAP.
- Multi-tenant Cloud
- Dedicated Cloud or Self-Managed
Auto provisioning with SSO isn’t configurable for Multi-tenant Cloud. Contact your W&B team for assistance.
Auto provisioning with SSO is useful for adding users to an organization at scale because organization admins don’t need to generate individual user invitations.
Domain capture
Domain capture helps your employees join your company’s organization to ensure new users don’t create assets outside your company’s jurisdiction.Domains must be uniqueDomains are unique identifiers. This means that you can’t use a domain that’s already in use by another organization.
- Multi-tenant Cloud
- Dedicated Cloud or Self-Managed
Domain capture lets you automatically add people with a company email address, such as
To automatically assign non-invited new users to a default team when they join your organization:
@example.com, to your W&B Multi-tenant Cloud organization. This helps all your employees join the right organization and ensures that new users don’t create assets outside your company jurisdiction.This table summarizes the behavior of new and existing users with and without domain capture enabled:| With domain capture | Without domain capture | |
|---|---|---|
| New users | Users who sign up for W&B from verified domains are automatically added as members to your organization’s default team. They can choose additional teams to join at sign up, if you enable team joining. They can still join other organizations and teams with an invitation. | Users can create W&B accounts without knowing a centralized organization is available. |
| Invited users | Invited users automatically join your organization when accepting your invite. Invited users aren’t automatically added as members to your organization’s default team. They can still join other organizations and teams with an invitation. | Invited users automatically join your organization when accepting your invite. They can still join other organizations and teams with an invitation. |
| Existing users | Existing users with verified email addresses from your domains can join your organization’s teams within the W&B App. All data that existing users create before joining your organization remains. W&B doesn’t migrate the existing user’s data. | Existing W&B users may be spread across multiple organizations and teams. |
- Navigate to https://wandb.ai/home.
- In the upper right corner of the page, select the User menu dropdown. From the dropdown, choose Settings.
- Within the Settings tab, select General.
- Click the Claim domain button within Domain capture.
- Select the team that you want new users to automatically join from the Default team dropdown. If no teams are available, update team settings. See the instructions in Add and manage teams.
- Click the Claim email domain button.
- Navigate to the team’s dashboard at
https://wandb.ai/<team-name>, where<team-name>is the name of the team for which you want to enable domain matching. - Select Team settings in the global navigation on the left side of the team’s dashboard.
- Within the Privacy section, toggle the Recommend new users with matching email domains join this team upon signing up option.
Assign or update a user’s role
A user’s organization role controls what they can do across the organization, such as inviting other users, managing teams, or viewing content. Assign or update roles to give each user the appropriate level of administrative authority. Every member in an organization has an organization role and seat for both W&B Models and Weave. The type of seat they have determines both their billing status and the actions they can take in each product line. You initially assign an organization role to a user when you invite them to your organization. You can change any user’s role later. A user within an organization can have one of the following roles:| Role | Descriptions |
|---|---|
| Admin | An instance admin who can add or remove other users to the organization, change user roles, manage custom roles, add teams, and more. W&B recommends having more than one admin in case your admin is unavailable. |
| Member | A regular user of the organization, invited by an instance admin. An organization member can’t invite other users or manage existing users in the organization. |
| Viewer (Enterprise-only feature) | A view-only user of your organization, invited by an instance admin. A viewer only has read access to the organization and the underlying teams that they are a member of. |
| Custom Roles (Enterprise-only feature) | Custom roles let organization admins compose new roles by inheriting from the preceding View-Only or Member roles and adding additional permissions to achieve fine-grained access control. Team admins can then assign any of those custom roles to users in their respective teams. For more information, see Add and manage custom roles. |
- Navigate to https://wandb.ai/home.
- In the upper right corner of the page, select the User menu dropdown. From the dropdown, choose Users.
- Provide the name or email of the user in the search bar.
- Select a role from the TEAM ROLE dropdown next to the name of the user.
Assign or update a user’s access
While the organization role controls administrative actions, the seat type controls what a user can do within Models and Weave. Use this procedure when you need to change a user’s product-level permissions independent of their organization role. A user within an organization has one of the following Model seat or Weave access types: full, viewer, or no access.| Seat type | Description |
|---|---|
| Full | Users with this role type have full permissions to write, read, and export data for Models or Weave. |
| Viewer | A view-only user of your organization. A viewer only has read access to the organization and the underlying teams that they are a part of, and view-only access to Models or Weave. |
| No access | Users with this role have no access to the Models or Weave products. |
- For Multi-tenant Cloud users, navigate to your organization’s settings at
https://wandb.ai/account-settings/<organization>/settings. Replace the values enclosed in angle brackets (<>) with your organization name. For Dedicated Cloud and Self-Managed deployments, navigate tohttps://<your-instance>.wandb.io/org/dashboard. - Select the Users tab.
- From the Role dropdown, select the seat type you want to assign to the user.
The organization role and subscription type determine which seat types are available within your organization.
Remove a user
- Navigate to https://wandb.ai/home.
- In the upper right corner of the page, select the User menu dropdown. From the dropdown, choose Users.
- Provide the name or email of the user in the search bar.
- Select the action () menu when it appears.
- From the dropdown, choose Remove member.
Assign the billing admin
- Navigate to https://wandb.ai/home.
- In the upper right corner of the page, select the User menu dropdown. From the dropdown, choose Users.
- Provide the name or email of the user in the search bar.
- Under the Billing admin column, choose the user you want to assign as the billing admin.
Add and manage teams
Teams group related users together so they can collaborate on projects and share resources within the organization. The following sections describe how to create teams, invite users to them, and manage team membership and roles. Use your organization’s dashboard to create and manage teams within your organization. An organization admin or a team admin can:- Invite users to a team or remove users from a team.
- Manage a team member’s roles.
- Automate the addition of users to a team when they join your organization.
- Manage team storage with the team’s dashboard at
https://wandb.ai/<team-name>.
Create a team
Use your organization’s dashboard to create a team:- Navigate to https://wandb.ai/home.
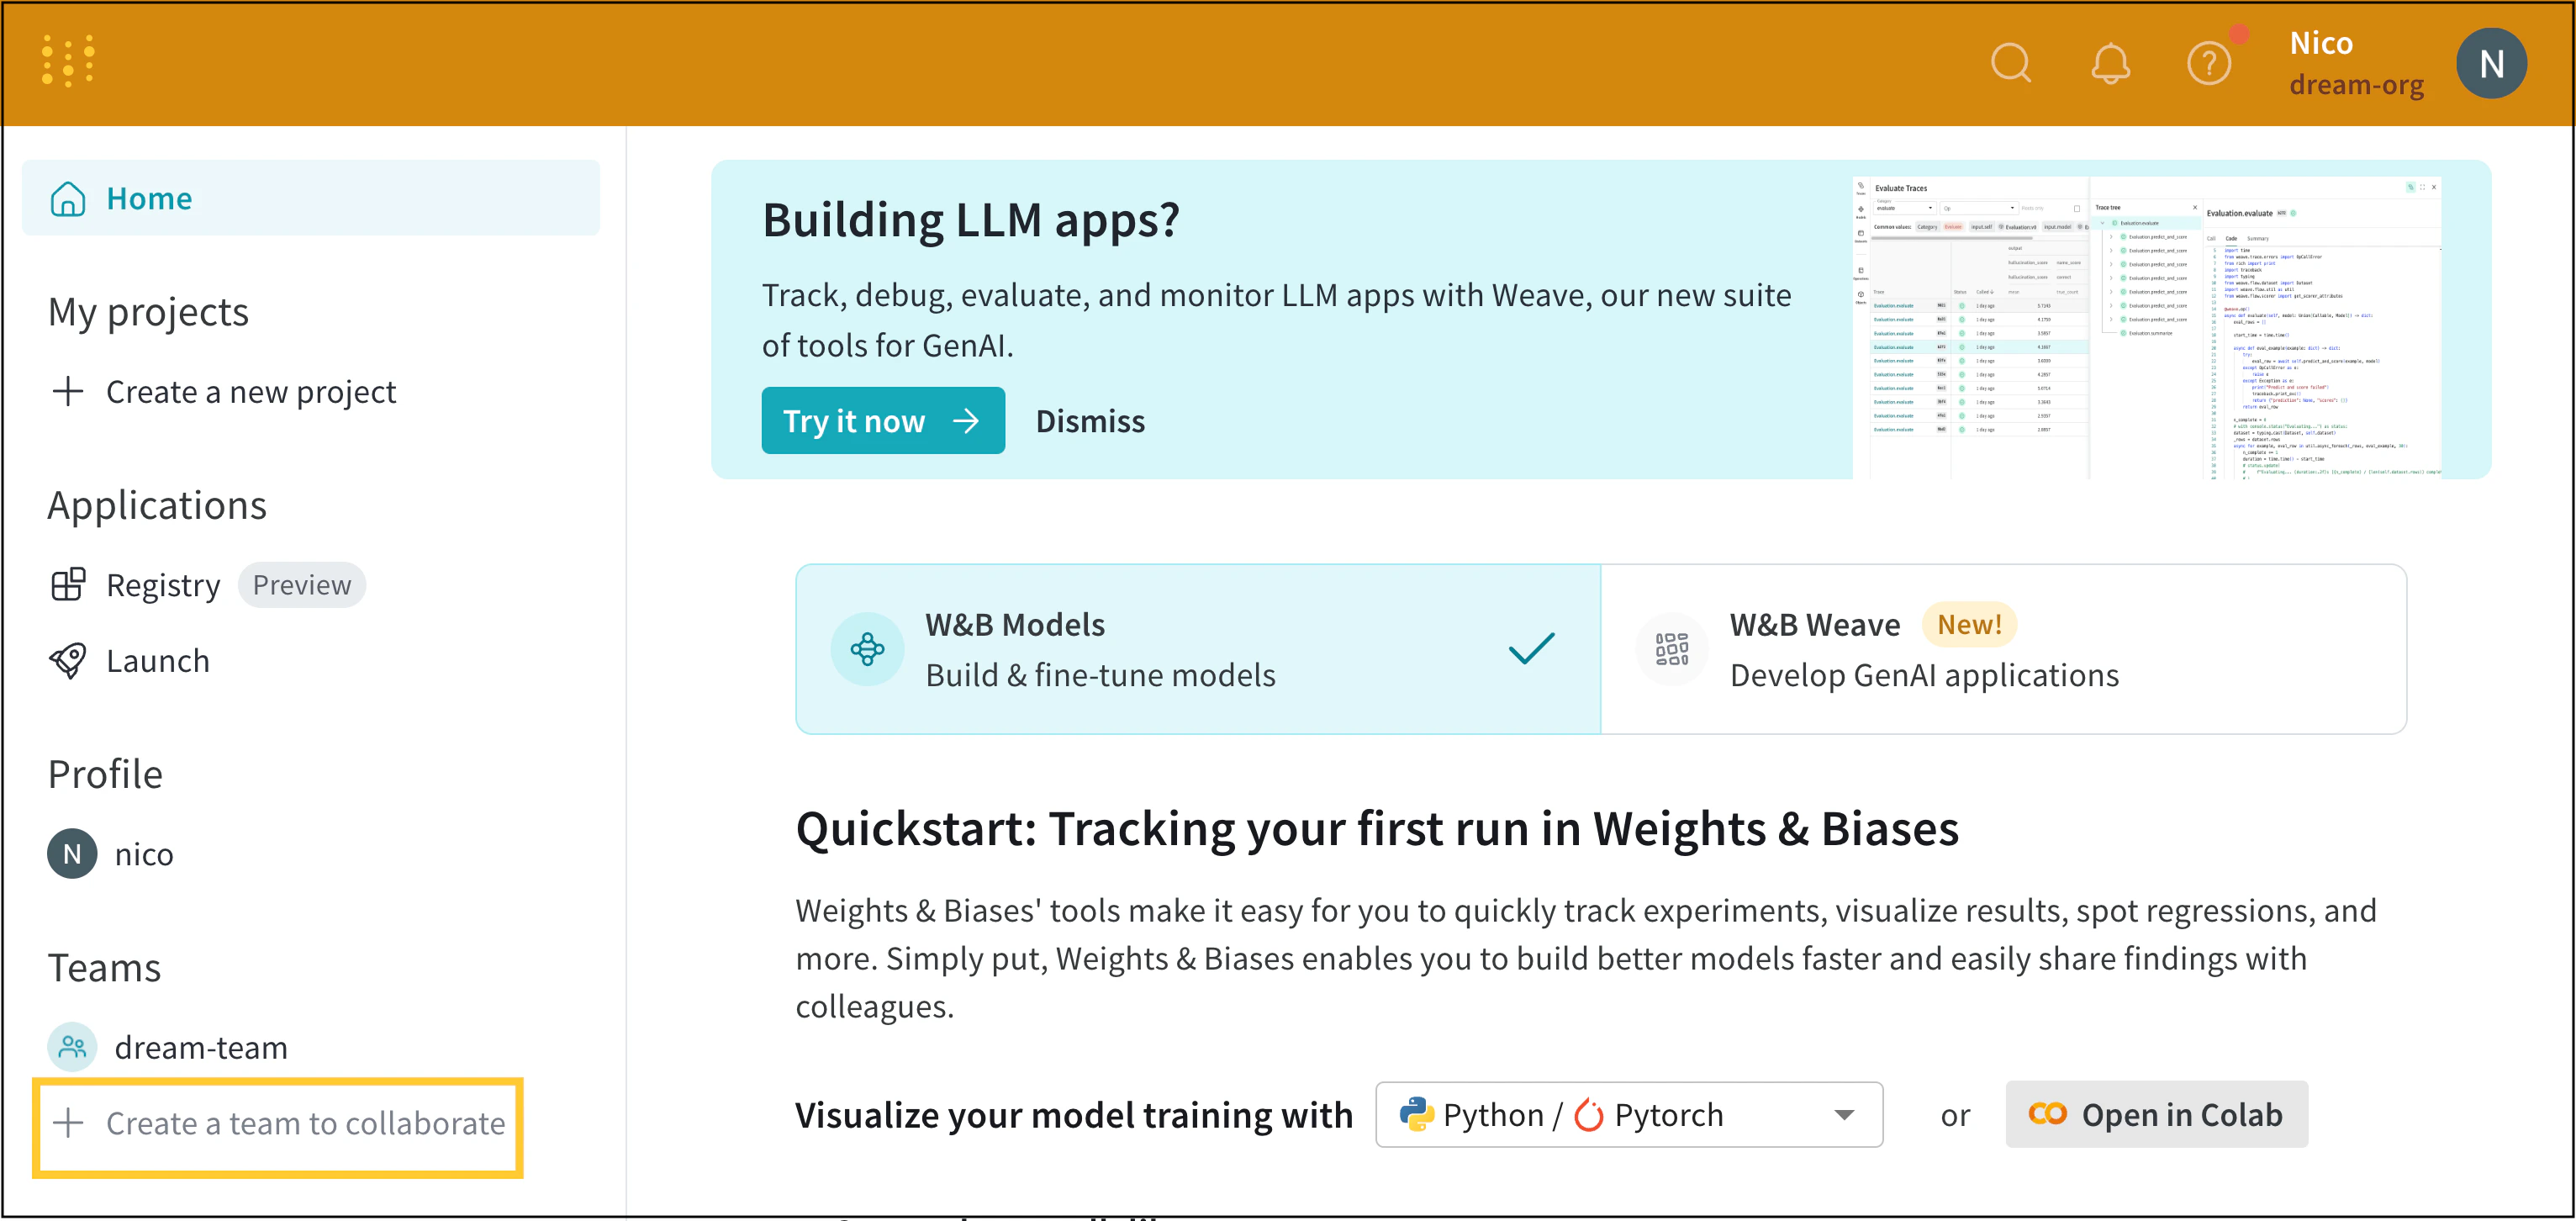
- Select Create a team to collaborate on the left navigation panel underneath Teams.
- Provide a name for your team in the Team name field in the modal that appears.
- Choose a storage type.
- Select the Create team button.
https://wandb.ai/<team-name>, where <team-name> consists of the name you provide when you create a team.
Once you have a team, you can add users to that team.
Invite users to a team
Invite users to a team in your organization. Use the team’s dashboard to invite users using their email address or W&B username if they already have a W&B account.- Navigate to
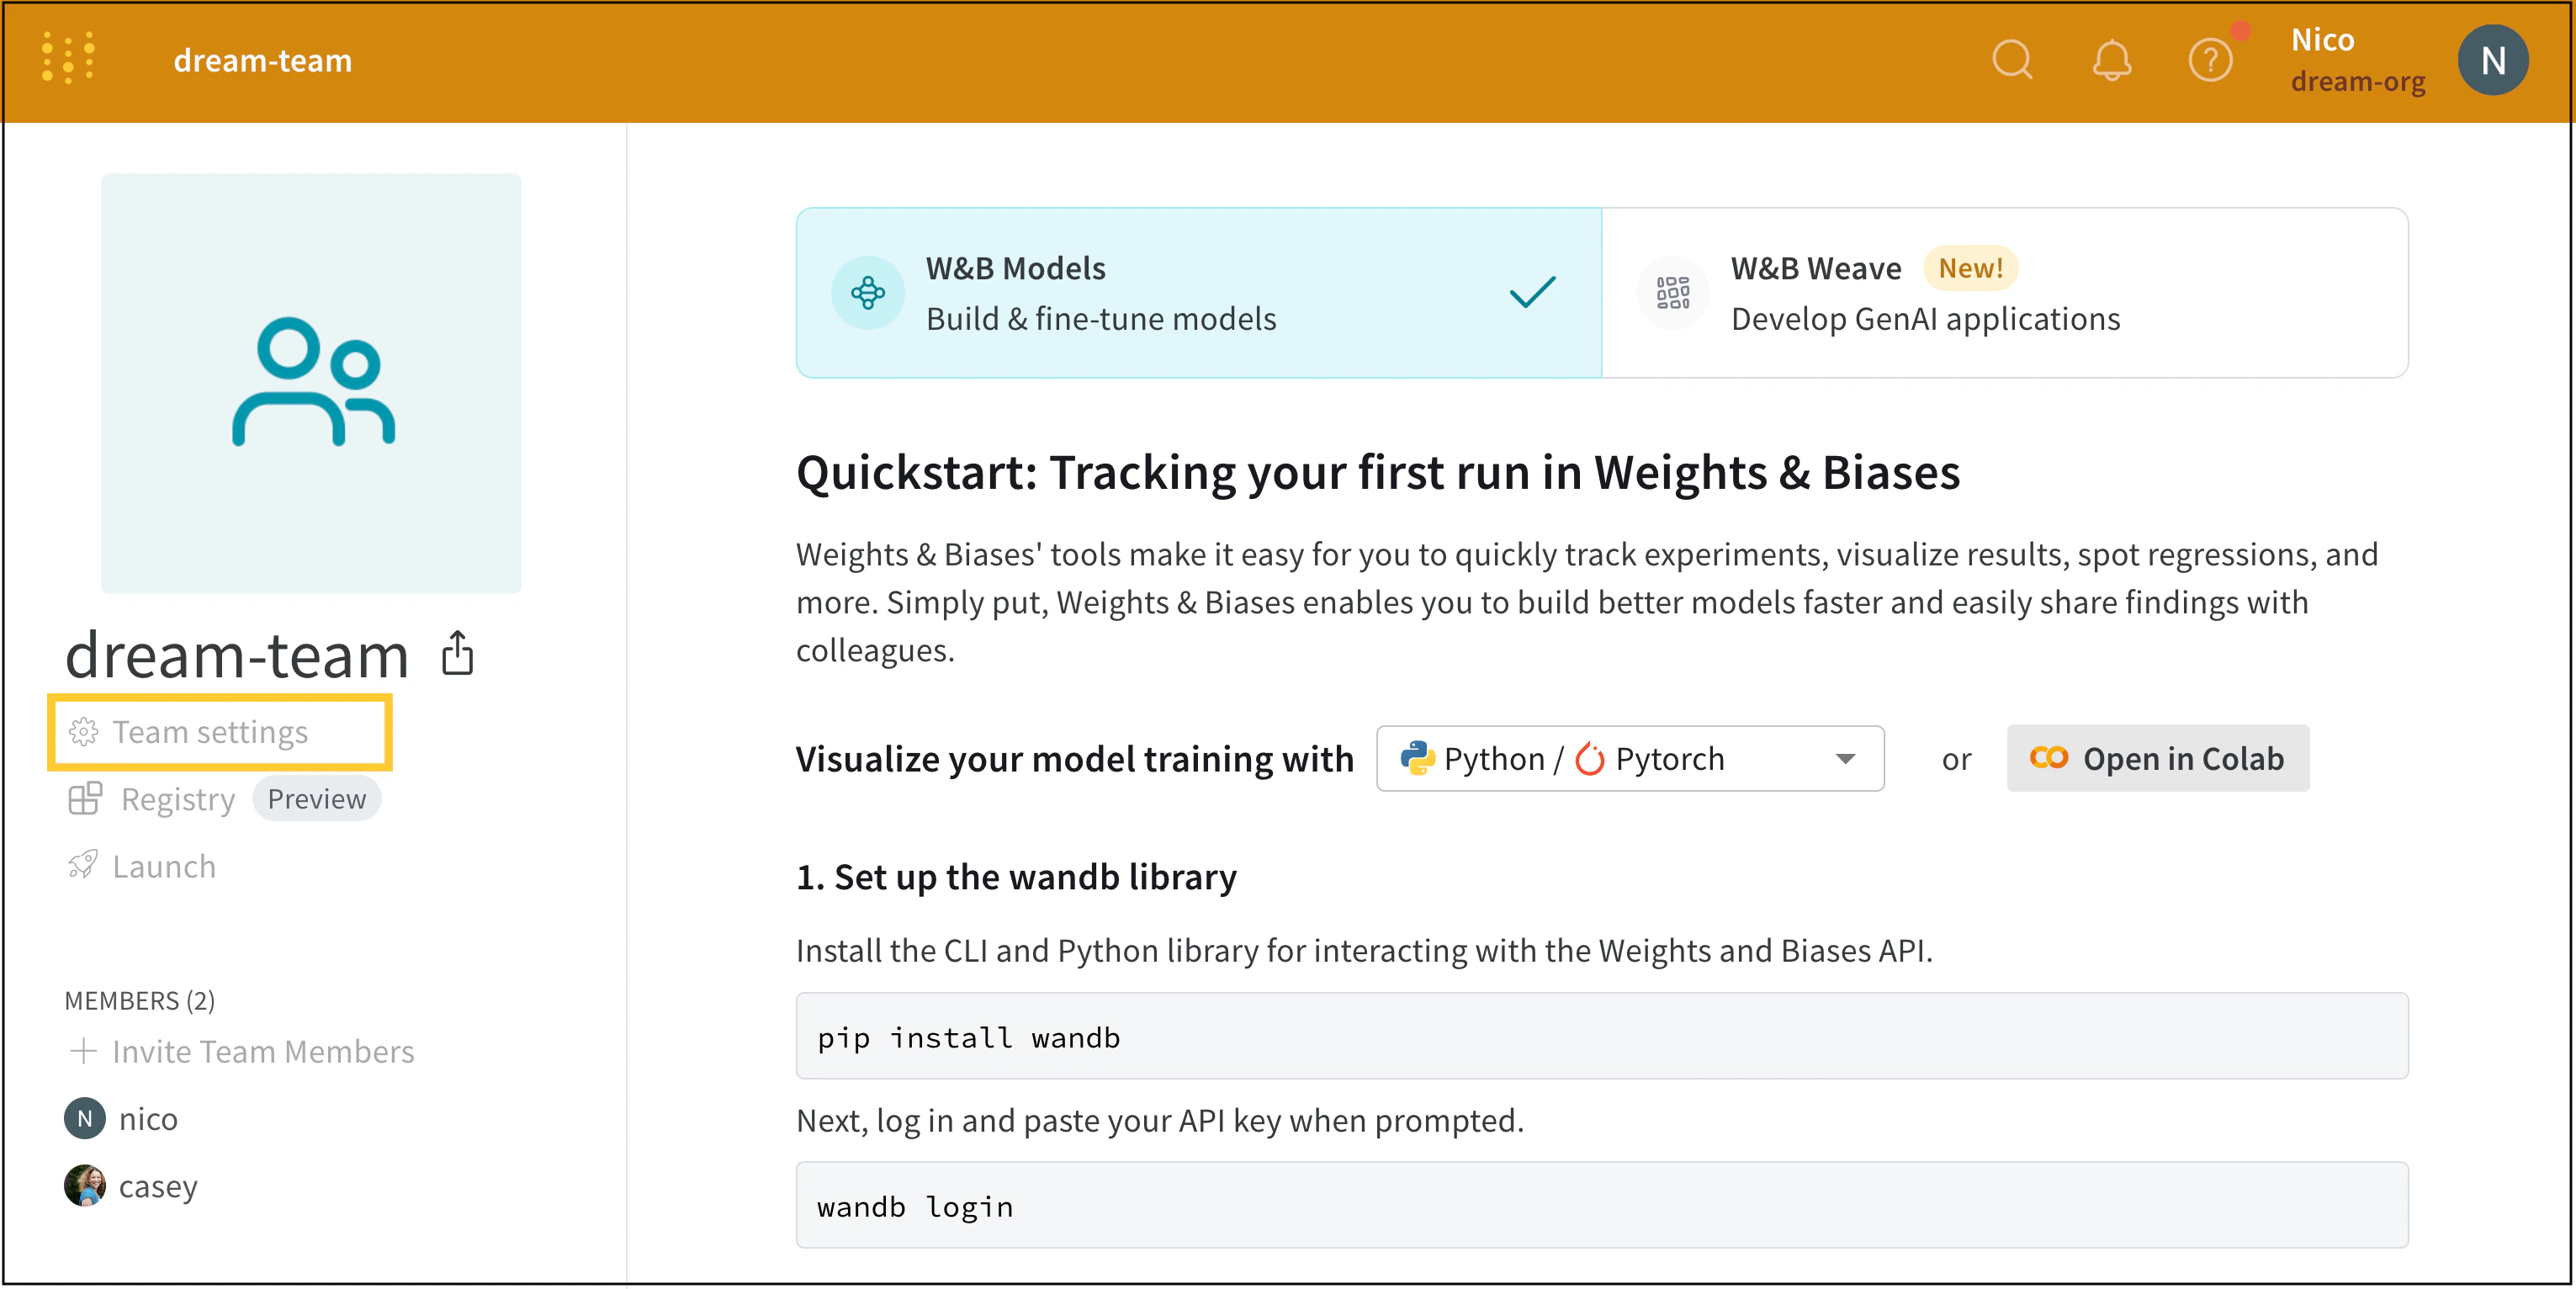
https://wandb.ai/<team-name>. - Select Team settings in the global navigation on the left side of the dashboard.
- Select the Users tab.
- Click Invite a new user.
- Within the modal that appears, provide the email of the user in the Email or username field and select the role to assign to that user from the Select a team role dropdown. For more information about roles a user can have in a team, see Assign or update a team member’s role.
- Click the Send invite button.
Match members to a team organization during sign up
Allow new users within your organization to discover teams within your organization when they sign up. New users must have a verified email domain that matches your organization’s verified email domain. Verified new users can view a list of verified teams that belong to an organization when they sign up for a W&B account. An organization admin must enable domain claiming. To enable domain capture, see the steps described in Domain capture.Assign or update a team member’s role
A team member’s role determines what they can do within the team, such as managing other members, contributing content, or viewing data only. Update a team member’s role when their responsibilities within the team change.- Select the account type icon next to the name of the team member.
- From the dropdown, choose the account type you want that team member to possess.
| Role | Definition |
|---|---|
| Admin | A user who can add and remove other users in the team, change user roles, and configure team settings. |
| Member | A regular user of a team, invited by email or their organization-level username by the team admin. A member user can’t invite other users to the team. |
| View-Only (Enterprise-only feature) | A view-only user of a team, invited by email or their organization-level username by the team admin. A view-only user only has read access to the team and its contents. |
| Custom Roles (Enterprise-only feature) | Custom roles let organization admins compose new roles by inheriting from the preceding View-Only or Member roles and adding additional permissions to achieve fine-grained access control. Team admins can then assign any of those custom roles to users in their respective teams. For more information, see the custom roles announcement. |
Service accounts aren’t users, but rather non-human identities used for automation. Service accounts provide API keys for automated workflows and don’t consume user licenses. For more information about creating and managing service accounts, see Use service accounts to automate workflows.
Only enterprise licenses on Dedicated Cloud or Self-Managed deployment can assign custom roles to members in a team.
Remove users from a team
Remove a user from a team using the team’s dashboard. W&B preserves runs created in a team, even if the member who created the runs is no longer on that team.- Navigate to
https://wandb.ai/<team-name>. - Select Team settings in the left navigation bar.
- Select the Users tab.
- Hover your mouse next to the name of the user you want to delete. Select the action () menu when it appears.
- From the dropdown, select Remove user.
Add and manage custom roles
Custom roles let you tailor permissions beyond the built-in roles when the standard View-Only, Member, and Admin roles don’t match your organization’s access requirements. Use custom roles to grant specific permissions while still building on a familiar base role.An Enterprise license is required to create or assign custom roles on Dedicated Cloud or Self-Managed deployments.
- Multi-tenant Cloud
- Dedicated Cloud or Self-Managed
- Navigate to https://wandb.ai/home.
- In the upper right corner of the page, select the User menu dropdown. Within the Account section of the dropdown, select Settings.
- Click Roles.
- In the Custom roles section, click Create a role.
- Provide a name for the role. Optionally provide a description.
- Choose the role to base the custom role on, either Viewer or Member.
- To add permissions, click the Search permissions field, then select one or more permissions to add.
- Review the Custom role permissions section, which summarizes the permissions the role has.
- Click Create Role.