Documentation Index
Fetch the complete documentation index at: https://wb-21fd5541-docs-2661.mintlify.app/llms.txt
Use this file to discover all available pages before exploring further.
This feature requires a Pro or Enterprise plan.
- If necessary, create a W&B secret for each sensitive string required by the automation, such as an access token, password, or SSH key. Secrets are defined in your Team Settings.
- Create a webhook to define the endpoint and authorization details and grant the integration access to any secrets it needs.
- Create the automation to define the event to watch for and the payload W&B sends. Grant the automation access to any secrets it needs for the payload.
Create a webhook
A team admin can add a webhook for the team. The webhook defines the endpoint W&B sends requests to and any credentials required to authenticate with it.If the webhook requires a Bearer token or its payload requires a sensitive string, create a secret that contains it before creating the webhook. You can configure at most one access token and one other secret for a webhook. The webhook’s service determines your webhook’s authentication and authorization requirements.
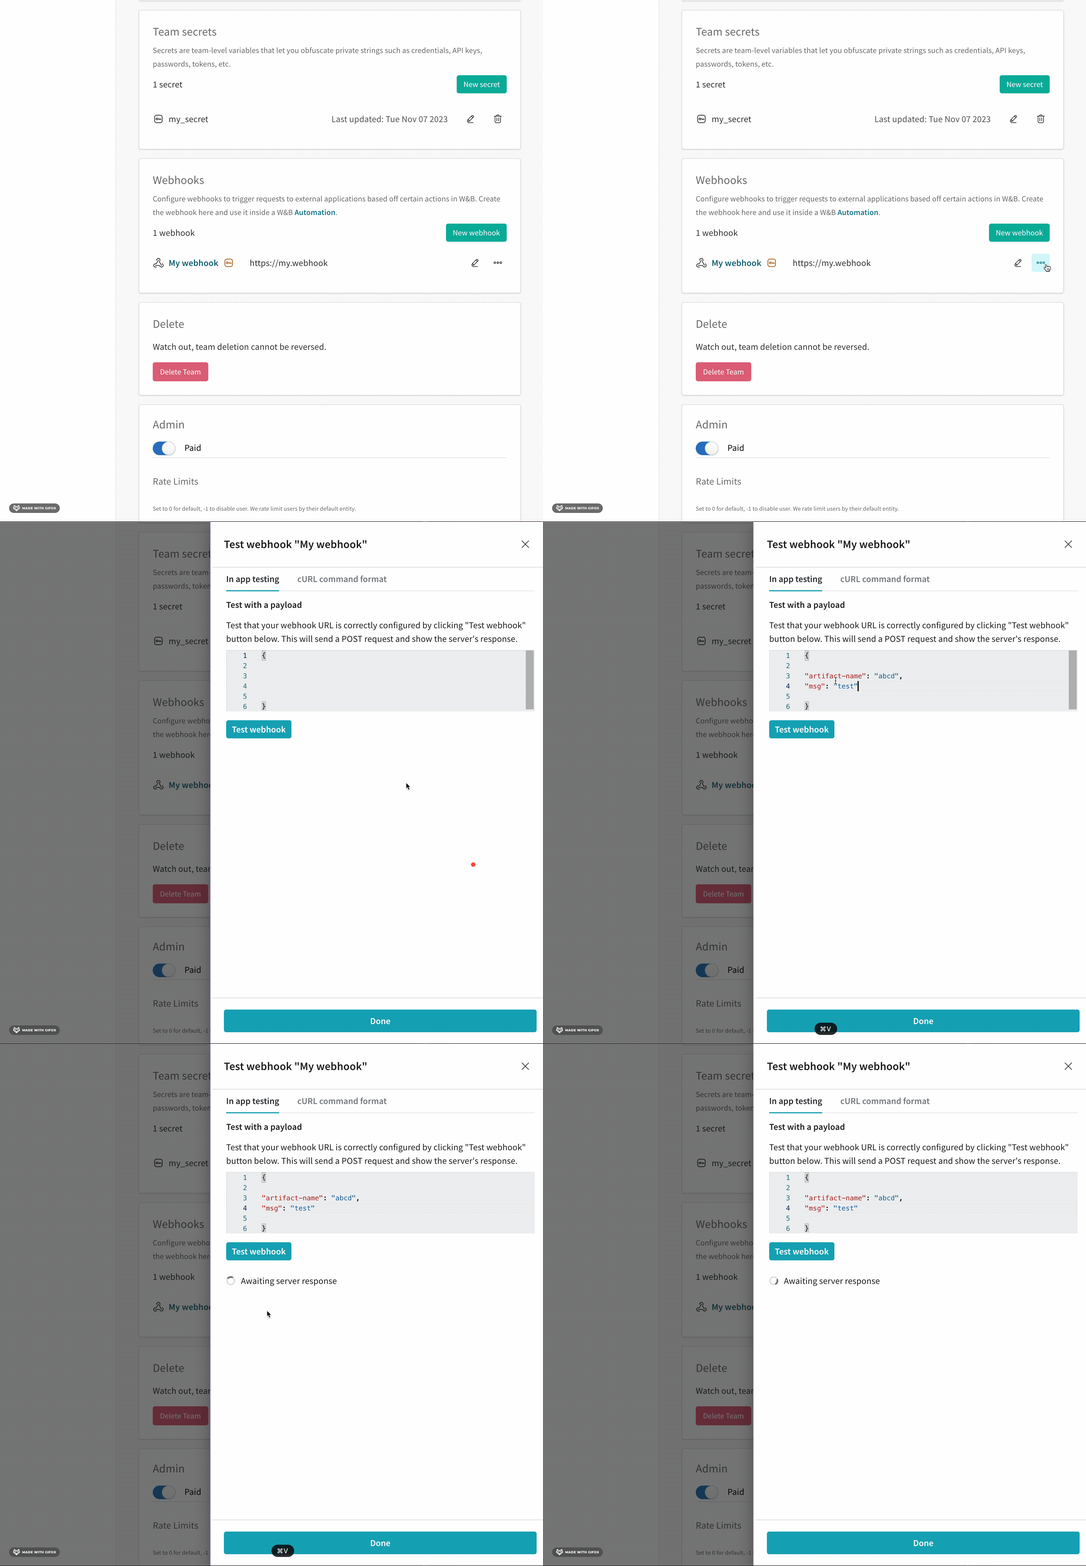
- Log in to W&B and go to the Team Settings page.
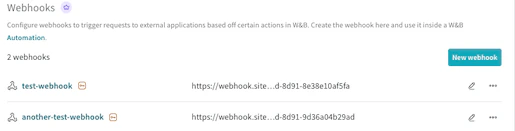
- In the Webhooks section, click New webhook.
- Provide a name for the webhook.
- Provide the endpoint URL of the webhook.
-
If the webhook requires a Bearer token, set Access token to the secret that contains it. When using the webhook automation, W&B sets the
Authorization: BearerHTTP header to the access token, and you can access the token in the${ACCESS_TOKEN}payload variable. For more information about the structure of thePOSTrequest W&B sends to the webhook service, see Troubleshoot your webhook. -
If the webhook requires a password or other sensitive string in its payload, set Secret to the secret that contains it. When you configure the automation that uses the webhook, you can access the secret as a payload variable by prefixing its name with
$. If the webhook’s access token is stored in a secret, you must also complete the next step to specify the secret as the access token. -
To verify that W&B can connect and authenticate to the endpoint:
- Optionally, provide a payload to test. To refer to a secret the webhook has access to in the payload, prefix its name with
$. W&B uses this payload only for testing and doesn’t save it. You configure an automation’s payload when you create the automation. For more information about where the secret and access token appear in thePOSTrequest, see Troubleshoot your webhook. - Click Test. W&B attempts to connect to the webhook’s endpoint using the credentials you configured. If you provided a payload, W&B sends it.
- Optionally, provide a payload to test. To refer to a secret the webhook has access to in the payload, prefix its name with
Create an automation
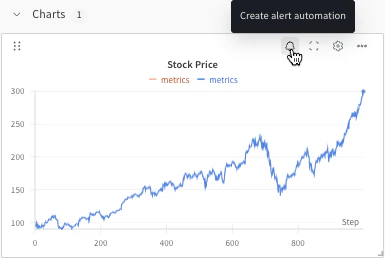
After you configure a webhook, create an automation that defines which W&B event triggers the webhook and what payload to send. Select Registry or Project depending on the scope you want, then follow these steps to create an automation that triggers the webhook.- Registry
- Project
A Registry admin can create automations in that registry. Registry automations apply to all collections in the registry, including those added in the future.
- Log in to W&B.
- Click the name of a registry to view its details.
- To create an automation scoped to the registry, click the Automations tab, then click Create automation.
- Choose the event to watch for. Fill in any additional fields that appear. For example, if you select An artifact alias is added, you must specify the Alias regex. Click Next step.
- Select the team that owns the webhook.
- Set Action type to Webhooks. Then select the webhook to use.
-
If you configured an access token for the webhook, you can access the token in the
${ACCESS_TOKEN}payload variable. If you configured a secret for the webhook, you can access it in the payload by prefixing its name with$. The webhook’s service determines your webhook’s requirements. - Click Next step.
- Provide a name for the automation. Optionally, provide a description. Click Create automation.
View and manage automations
Review, edit, or delete an automation from the Automations tab.- Registry
- Project
Manage a registry’s automations from the registry’s Automations tab.
- To view an automation’s details, click its name.
- To edit an automation, click its action () menu, then click Edit automation.
- To delete an automation, click its action () menu, then click Delete automation. W&B prompts you to confirm.
Payload reference
Use these sections to construct your webhook’s payload. The following sections describe the variables available to your payload and show example payloads for common services. For details about testing your webhook and its payload, refer to Troubleshoot your webhook.Payload variables
The following table describes the variables you can use to construct your webhook’s payload.| Variable | Details |
|---|---|
${project_name} | The name of the project that owns the mutation that triggered the action. |
${entity_name} | The name of the entity or team that owns the mutation that triggered the action. |
${event_type} | The type of event that triggered the action. |
${event_author} | The user that triggered the action. |
${alias} | Contains an artifact’s alias if the automation is triggered by the An artifact alias is added event. For other automations, this variable is blank. |
${tag} | Contains an artifact’s tags if the automation is triggered by the An artifact tag is added event. For other automations, this variable is blank. |
${artifact_collection_name} | The name of the artifact collection that the artifact version is linked to. |
${artifact_metadata.<KEY>} | The value of an arbitrary top-level metadata key from the artifact version that triggered the action. Replace <KEY> with the name of a top-level metadata key. Only top-level metadata keys are available in the webhook’s payload. |
${artifact_version} | The Wandb.Artifact representation of the artifact version that triggered the action. |
${artifact_version_string} | The string representation of the artifact version that triggered the action. |
${ACCESS_TOKEN} | The value of the access token configured in the webhook, if you configured an access token. W&B automatically passes it in the Authorization: Bearer HTTP header. |
${SECRET_NAME} | If configured, the value of a secret configured in the webhook. Replace SECRET_NAME with the name of the secret. |
Payload examples
The following examples show webhook payloads for common use cases. The examples demonstrate how to use payload variables.- GitHub repository dispatch
- Microsoft Teams notification
- Slack notifications
Verify that your access tokens have the required set of permissions to trigger your GitHub Actions workflow. For more information, see the GitHub repository dispatch event documentation.
on key:The
event_type key in the webhook payload must match the types field in the GitHub workflow YAML file.${event_type} renders as either LINK_ARTIFACT or ADD_ARTIFACT_ALIAS. The following shows an example mapping:- For more information about repository dispatch, see the official documentation on the GitHub Marketplace.
- Watch the videos Webhook Automations for Model Evaluation and Webhook Automations for Model Deployment, which guide you to create automations for model evaluation and deployment.
- Review the W&B report Model CI/CD with W&B, which illustrates how to use a GitHub Actions webhook automation for model CI.
- For an example of model CI with a Modal Labs webhook, see the wandb-modal-webhook GitHub repository.
Troubleshoot your webhook
If a webhook isn’t working as expected, you can troubleshoot it interactively with the W&B App UI or programmatically with a shell script. You can troubleshoot a webhook during creation or afterward. For details about the format W&B uses for thePOST request, refer to the Shell script tab.
- W&B App UI
- Shell script
A team admin can test a webhook interactively with the W&B App UI.
- Go to your team page, then click Settings.
- Scroll to the Webhooks section.
- Click the action () menu next to the name of your webhook.
- Select Test.
- From the UI panel that appears, paste your
POSTrequest into the field that appears.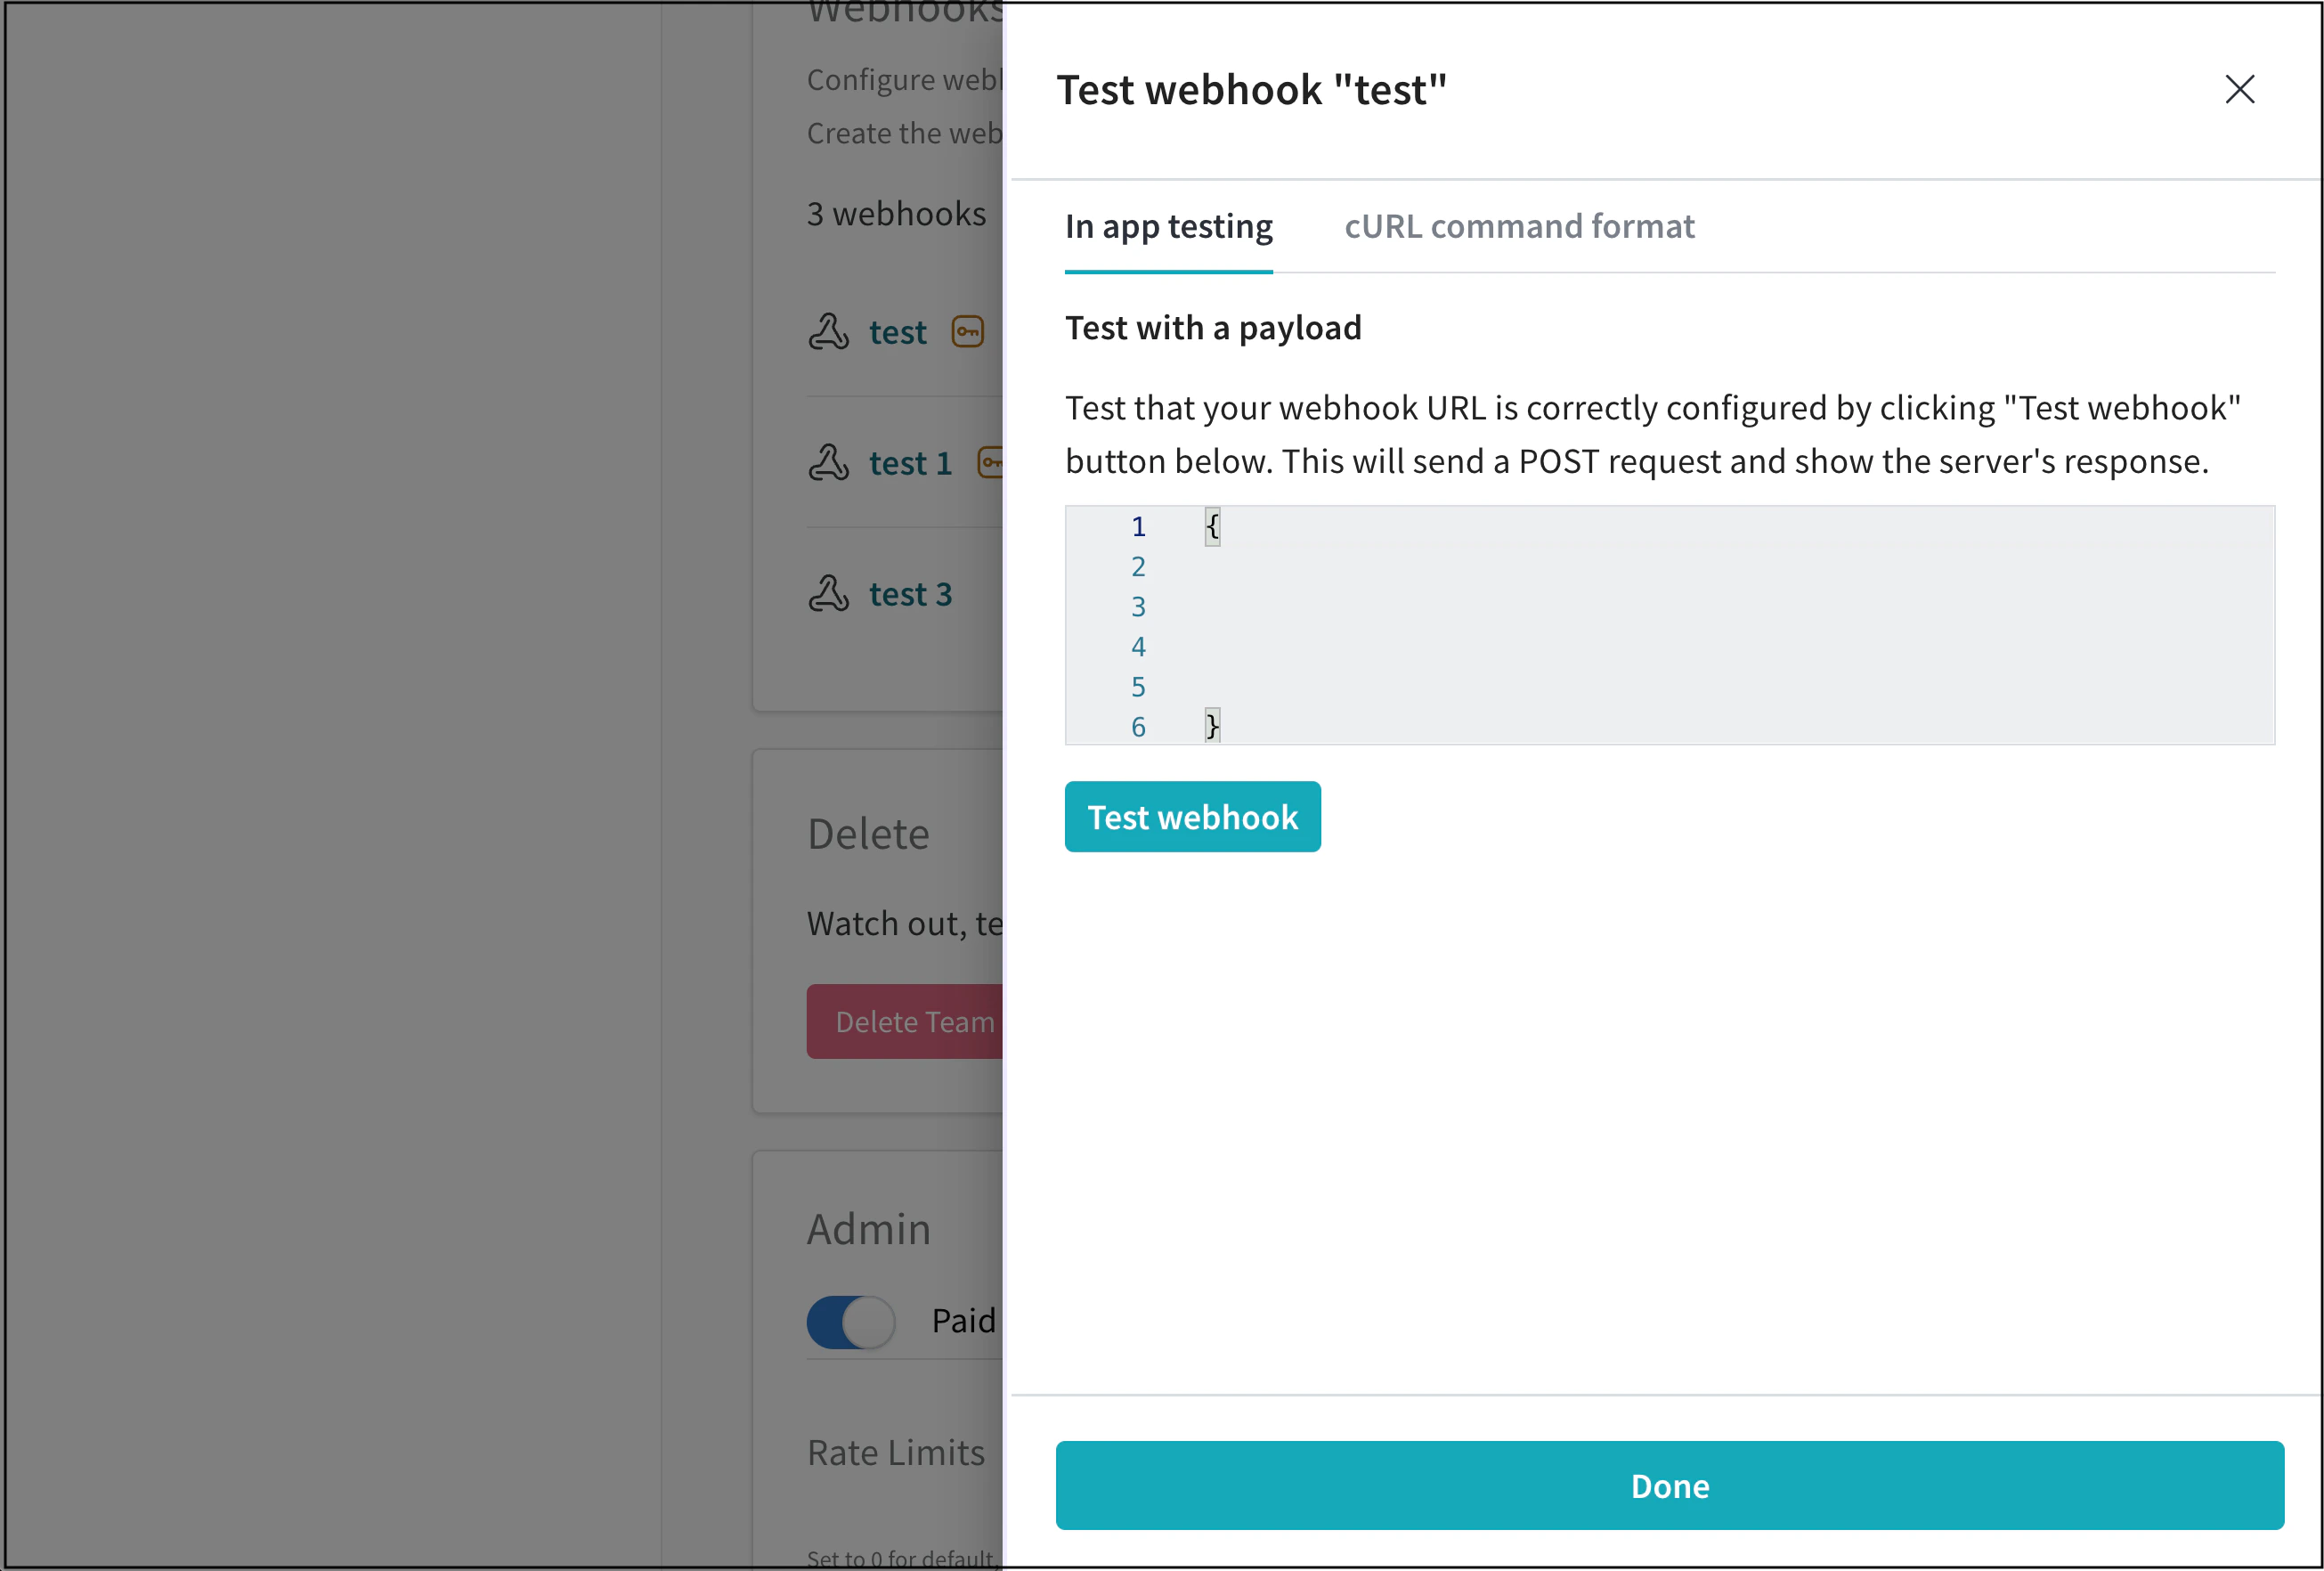
- Click Test webhook. Within the W&B App UI, W&B posts the response from your endpoint.